
 EN
EN
 ar
ar bg
bg hr
hr cs
cs da
da nl
nl fi
fi fr
fr de
de el
el hi
hi it
it ko
ko no
no pl
pl pt
pt ro
ro ru
ru es
es sv
sv tl
tl iw
iw id
id lv
lv lt
lt sr
sr sk
sk sl
sl uk
uk vi
vi et
et hu
hu th
th tr
tr fa
fa ms
ms hy
hy ka
ka ur
ur bn
bn mn
mn ta
ta kk
kk uz
uz ku
ku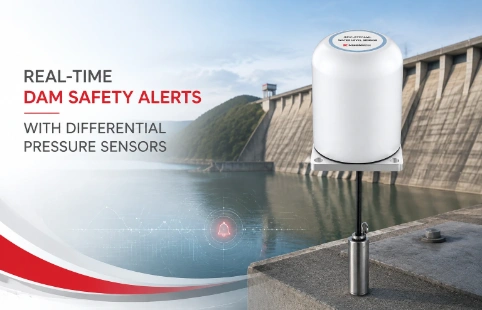
Real-Time Dam Safety Alerts with Differential Pressure Water Level Sensors
Key Takeaways An alert chain needs more than a sensor: define field in...

Tiltmeter Use: Installation Steps and Key Precautions
If you’ve ever installed a tiltmeter and second-guessed the readings, you’re not alone. The difference between reliable data and wasted effort often comes down to how the instrument is handled on site. Tiltmeter use isn’t complicated in theory—lower a probe into a casing and record the tilt—but small missteps can throw off an entire monitoring campaign. From preparing the borehole to interpreting the raw numbers, there are a handful of details that field technicians learn through trial and error. Kingmach has been making geotechnical instruments for years, and the feedback from their global distribution network highlights the same pain points over and over: rushed installations, skipped checks, and ignoring the casing’s condition. This article walks through the essentials of tiltmeter use—not as a marketing pitch, but as a field-focused guide that might save you a repeat trip to the site.
Technical Detail
Getting consistent results from a tiltmeter starts well before the probe goes in the hole. The casing installation is where many projects stumble. It needs to be firmly grouted, with no voids or flexing, and the groove alignment must be checked with a dummy probe before the real survey begins. Kingmach casings often come with alignment fins that make this easier, but the general principle applies regardless of the brand: if the casing moves independently of the surrounding ground, the tilt readings won’t reflect true displacement. Once the casing is in place, the actual tiltmeter use routine is straightforward. Lower the probe slowly to the bottom, let the temperature stabilize for a couple of minutes, and then start pulling up in increments—typically 0.5 or 1 meter, matching the wheel spacing. Each reading should be taken twice, rotating the probe 180 degrees to cancel out any bias. The sum of the two readings divided by two gives the true inclination at that depth. Skipping the rotation, or not waiting for temperature equilibrium, are two of the most common causes of data scatter. Beyond the technical steps, good tiltmeter use also demands attention to environmental factors. Cables should be kept clean and dry, and the probe’s wheels should be inspected for wear after every few surveys. Kingmach provides probes with replaceable wheel assemblies for this reason, but even a tiny bit of debris in the groove can cause erratic profiles. Many experienced users also run a quick check survey with a known stable borehole to catch any drift in the sensor before starting a long-term monitoring project. Over time, these small habits build a dataset that engineers can actually trust for slope stability, foundation monitoring, or excavation control.
News
Key Takeaways An alert chain needs more than a sensor: define field in...
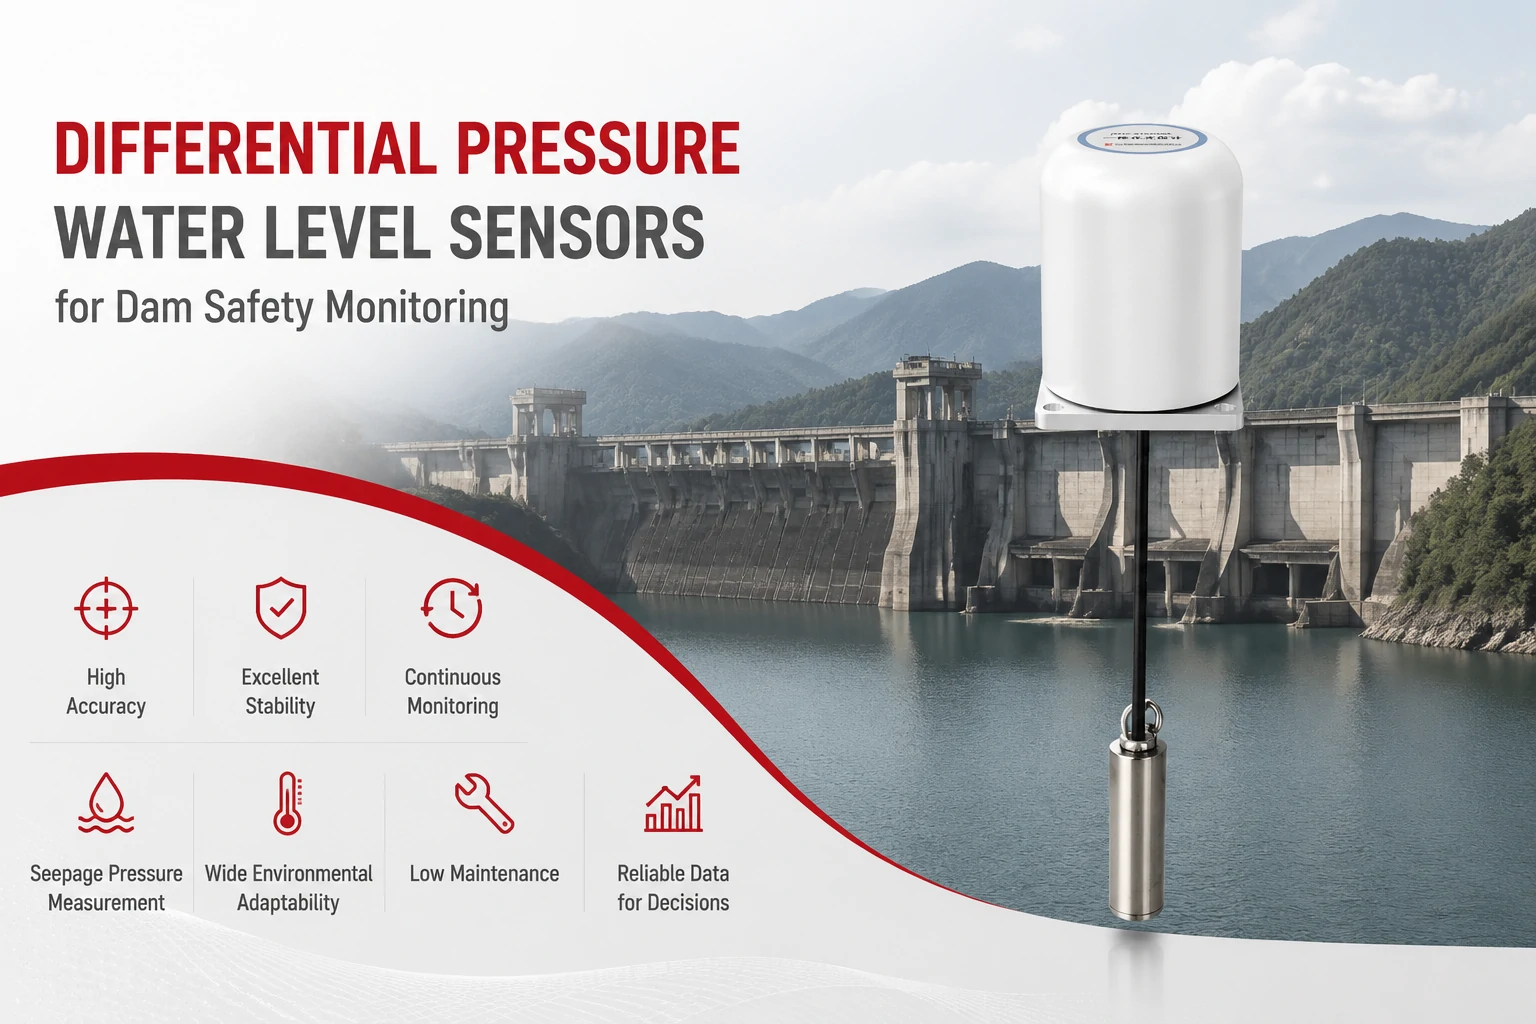
Key Takeaways The strongest fit is usually a confined, submerged, or s...
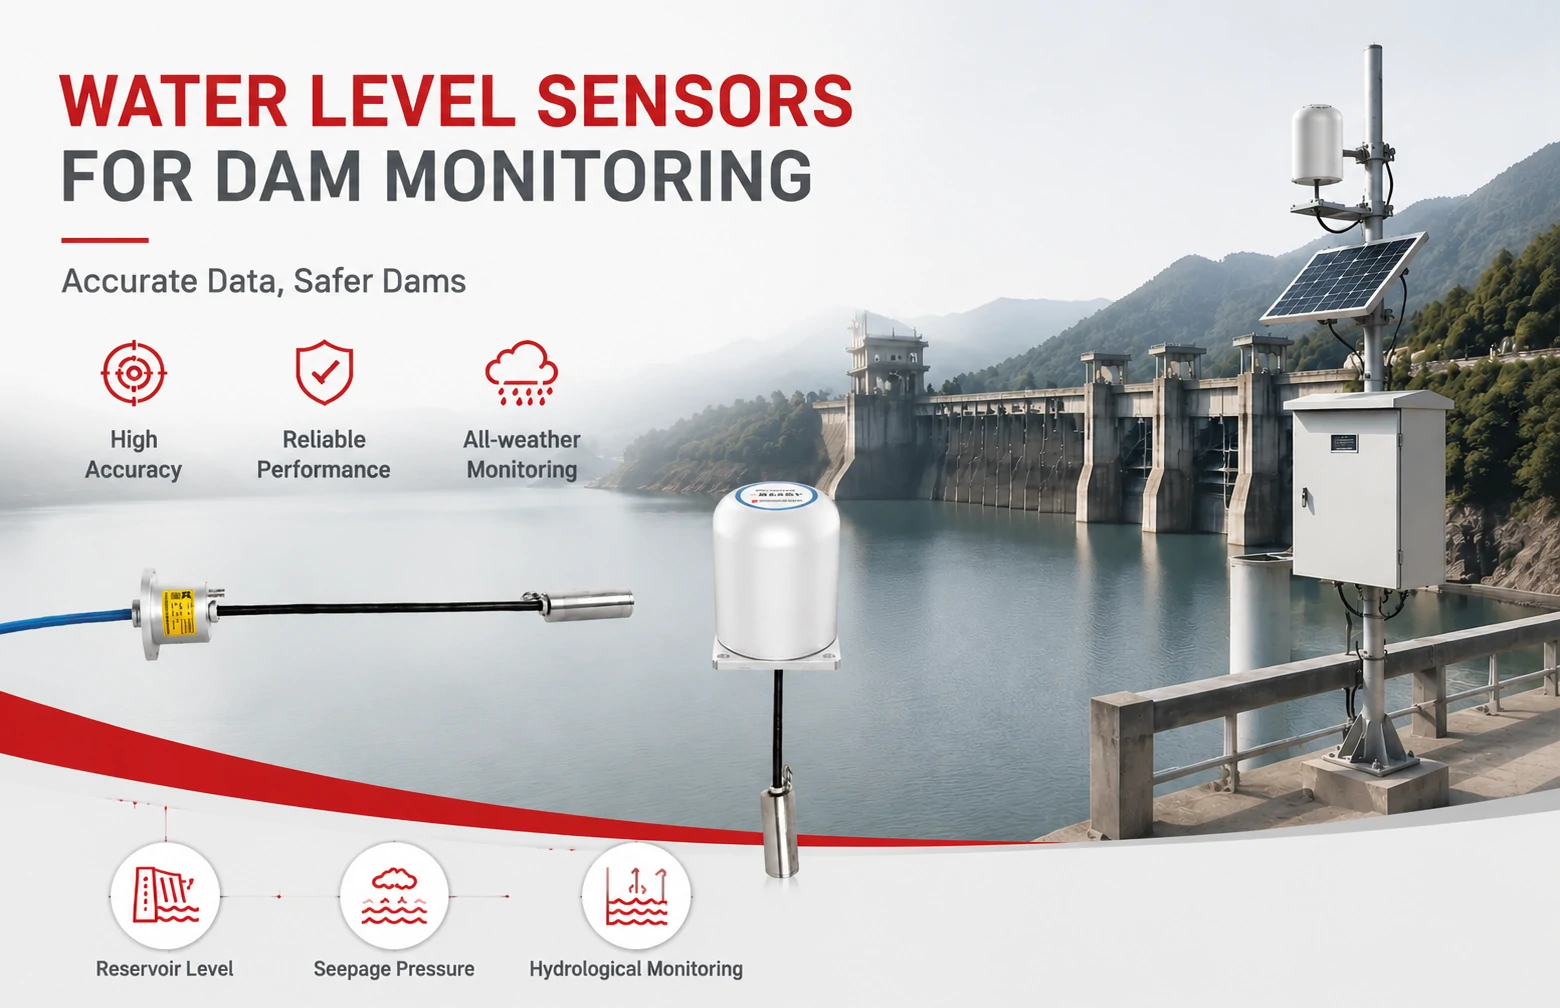
Kingmach Water Level Sensors for Dam Monitoring: A Buyer's Guide to Differential Pre...
Products
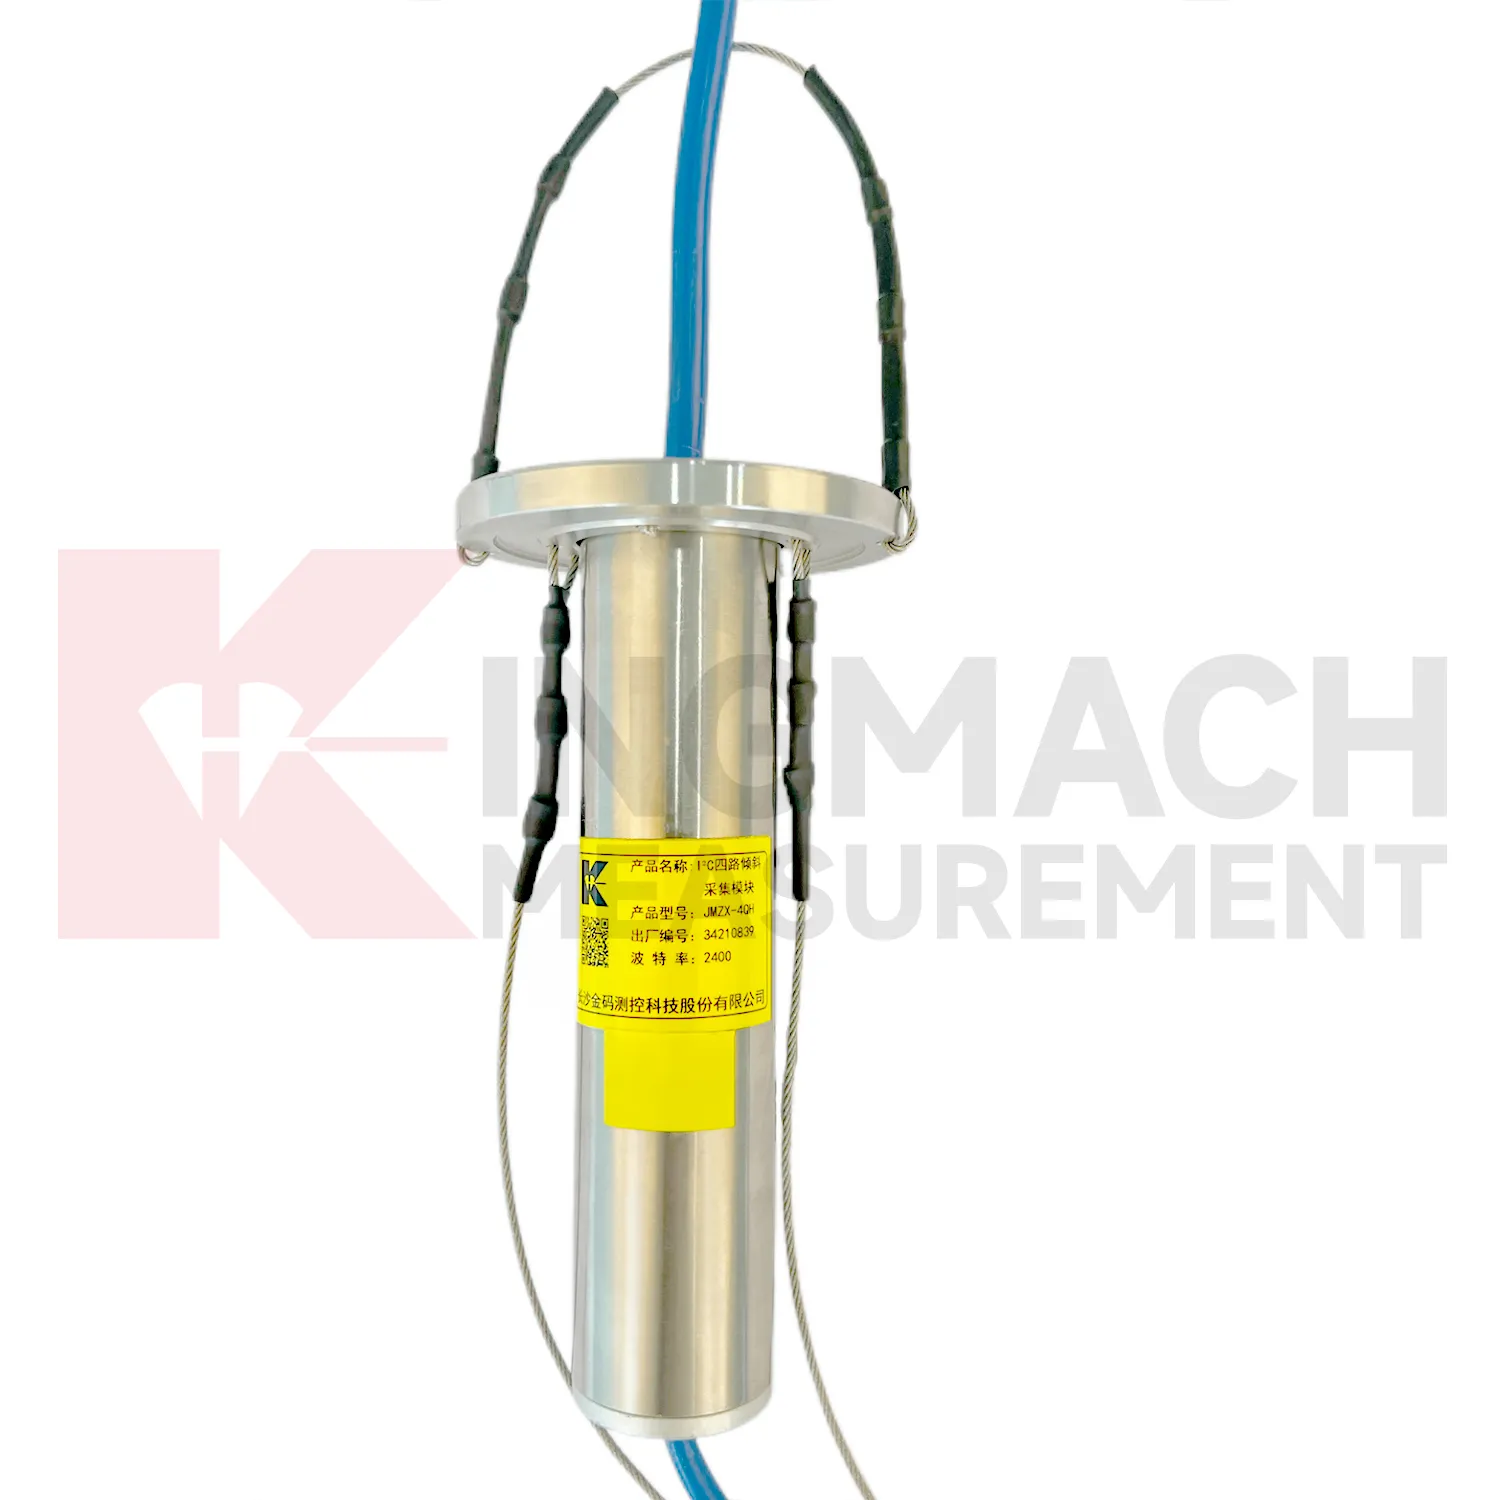
I²C 4-Channel Inclination Acquisition Module JMZX-4QH
View Details
Vertical In-Place Inclinometer System JMQJ-7915ATS
View Details
FAQ
Most manufacturers suggest a yearly calibration check. In practice, the need depends on how often the probe is used and whether it has been subjected to shocks. If you notice a consistent zero offset in surveys where no movement is expected, it’s time to send it for calibration. Kingmach probes can be returned for factory calibration or checked with a reference jig in the field.
It’s possible, but only if the casing is undamaged and can be fully extracted. Cement-grouted casings are almost impossible to salvage. Weak grout mixes or casings installed in soft clay might be pulled out, but the grooves often get scored or filled with debris, making them unreliable for future use. Most projects treat the casing as a permanent installation.
The rotation corrects for sensor bias. Even well-calibrated tiltmeters have a tiny offset, which would accumulate into a large error over the depth of the borehole. Taking a pair of readings—one normal, one rotated—averages out that offset, giving a much more accurate measurement of the actual tilt.
A vertical installation measures lateral movement with depth, like in a landslide or retaining wall. A horizontal installation measures settlement or heave along a plane, commonly used under embankments or storage tanks. The probe and casing design are essentially the same, but the data interpretation and the survey direction are different.
Share your product type, target capacity, and application requirements. Our team can review the details and recommend a practical next step.
If you are interested in our products or want to become our partner.
Please leave your contact information, our team will contact you as soon as possible.
Mail: [email protected]
Contact Us: +8613808434127
Address: No. 188 Tongzipo West Rd, Changsha, Hunan, China